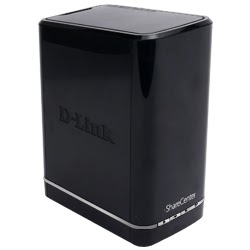
How to install Bittorrent Sync on D-Link DNS-320L NAS
This is how to install Bittorrent Sync on your D-Link DNS-320L NAS server.
Now Bittorrent Sync will autostarts whenever your D-Link DNS-320L NAS server starts.
Prerequisites
Steps
Step 1 : Change directory into "/ffp/sbin".
cd /ffp/sbin/
Step 2 : Download Bittorrent Sync for ARM from Bittorrent Sync website.
wget http://btsync.s3-website-us-east-1.amazonaws.com/btsync_arm.tar.gz
Step 3 : Extract the executable file from the downloaded tar.gz archive.
tar zxvf btsync_arm.tar.gz
Step 4 : By default the executable file does not have the execute permission enabled. Enable the execute permission.
chmod a+x ./btsync
Step 5 : Change the ownership of the executable to root.
chown root:root ./btsync
Step 6 : Change directory into "/ffp/start/".
cd /ffp/start/
Step 7 : create a btsync start script "btsync.sh". Copy and paste the codes below.
#!/ffp/bin/sh
# prOVIDE: inetd
. /ffp/etc/ffp.subr
name="btsync"
command="/ffp/sbin/$name"
${command}
Step 8 : Make the script executable
chmod 755 /ffp/start/btsync.sh
Now Bittorrent Sync will autostarts whenever your D-Link DNS-320L NAS server starts.
To manually starts Bittorrent Sync
/fpp/sbin/btsync


Hello!! Your guide is excellent but i am having problems with permissions. Whenever a new file is synced, that file is owned by root. So i can't access the files using a network share. Do you know how to solve this?
ReplyDelete