Posts

Showing posts from February, 2014

How to synchronize Outlook calendar with any Android smartphones

This is how you can synchronize your Microsoft Outlook calendar with your Android smartphone. Steps 1. Register an account at www.icalx.com . 2. Publish your Microsoft Outlook calendar to http://icalx.com/public/<username>/ or http://icalx.com/private/<username>/. For more details about the differences of the two links, please read the help section in www.icalx.com. 3. Install  iCalSync  on your Android smartphone. 4. Configure iCalSync to sync with your published Ms Outlook calendar on www.icalx.com website. Note: You can set the sync frequency of iCalSync in the app settings. For Ms Outlook update frequency to www.icalx.com, you can modify it in the "Send & Recieve" settings. Refer to the explanation at http://office.microsoft.com/en-001/outlook-help/publish-your-calendar-on-a-webdav-server-HA010147119.aspx References, Sources and Credits: http://technology.s-sheth.com/publish-outlook-calendar-to-gcal

Create individual tar.gz archive for every directory found in current location

This is how to automatically create individual tar.gz archive for every directory found in current location. Sometimes the whole directory might be too big to archive so I need to go one more level under and create a separate archives for each directory found. Method 1: find * -maxdepth 0 -type d -exec tar zcvf {}.tar.gz {} \; Method 2: for i in `ls ./`; do tar czvf "$i".tar.gz "$i" ; done References, Sources and Credits: http://www.commandlinefu.com/commands/view/2404/tar-per-directory

How to install fun_plug v0.7 on D-Link DNS-320L NAS server

Image
This is a summary of steps on how to install fun_plug v0.7 on D-Link DNS-320L NAS based on HDD-Installation of the fun_plug 0.7 on NAS-devices at http://nas-tweaks.net . For more detailed installation steps and explanations, please refer to  HDD-Installation of the fun_plug 0.7 on NAS-devices  post. Steps Step 1 : Download the installation files fun_plug script . fun_plug install archive . Step 2 : Place both files in the topmost directory of Volume_1 of your D-Link DNS-320L NAS Step 3 : Reboot your D-Link DNS-320L NAS Step 4 : Remote login into your D-Link DNS-320L NAS via telnet Step 5 : Change root password. Execute each command below one by one usermod -s /ffp/bin/sh root mkdir -p /ffp/home/root/ sed -ie 's#:/home/root:#:/ffp/home/root:#g' /etc/passwd pwconv passwd login wget http://wolf-u.li/u/172/ -O /ffp/sbin/store-passwd.sh store-passwd.sh Step 6 : Activate secure shell login (SSH) chmod a+x /ffp/start/sshd.sh sh /ffp/start/sshd.sh start Step 7 : Login into your D-Link

How to install Bittorrent Sync on D-Link DNS-320L NAS

Image
This is how to install Bittorrent Sync on your D-Link DNS-320L NAS server. Prerequisites Install fun_plug on your D-Link DNS-320L with ssh enabled . Steps Step 1 : Change directory into "/ffp/sbin". cd /ffp/sbin/ Step 2 : Download Bittorrent Sync for ARM from Bittorrent Sync website. wget http://btsync.s3-website-us-east-1.amazonaws.com/btsync_arm.tar.gz Step 3 : Extract the executable file from the downloaded tar.gz archive. tar zxvf btsync_arm.tar.gz Step 4 : By default the executable file does not have the execute permission enabled. Enable the execute permission. chmod a+x ./btsync  Step 5 : Change the ownership of the executable to root. chown root:root ./btsync Step 6 : Change directory into "/ffp/start/". cd /ffp/start/ Step 7 : create a btsync start script "btsync.sh". Copy and paste the codes below. #!/ffp/bin/sh # prOVIDE: inetd . /ffp/etc/ffp.subr name="btsync" command="/ffp/sbin/$name" ${command} Step 8 : Make the script exe

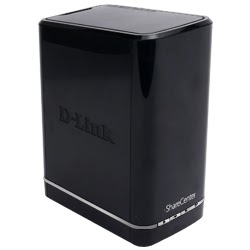
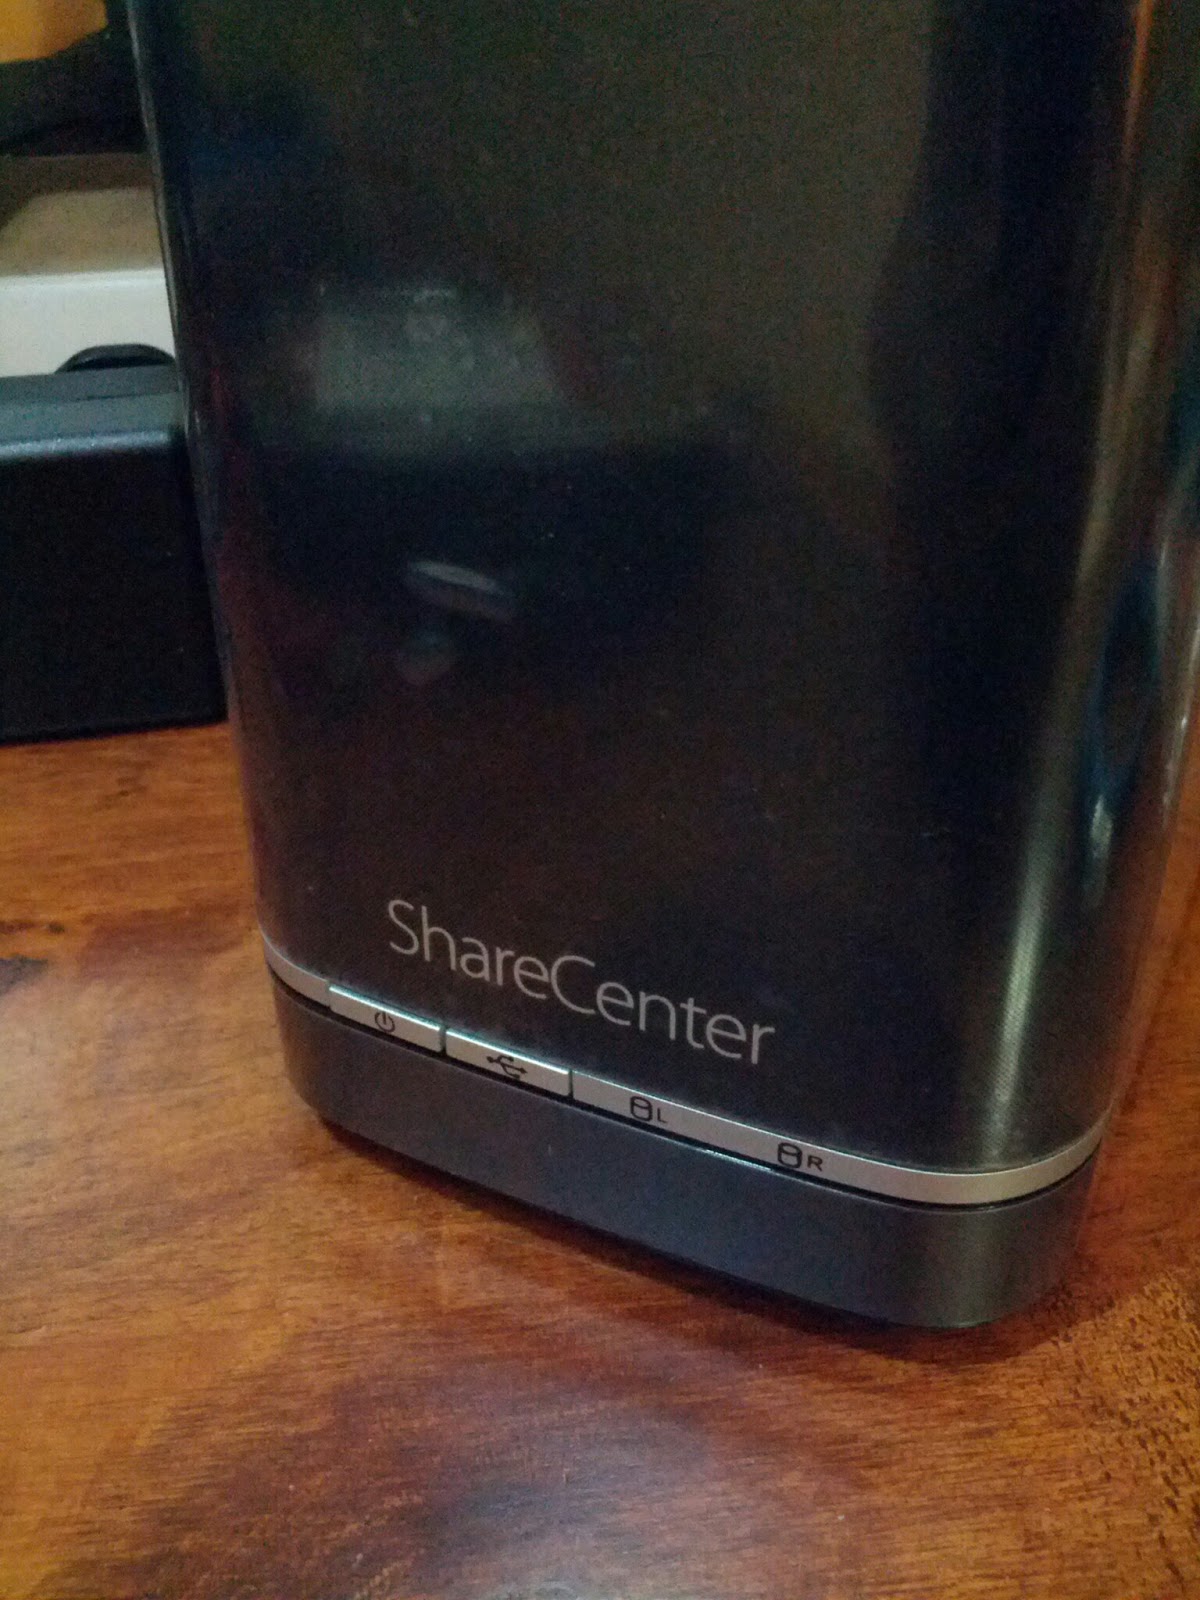
Buying D-Link DNS-320L

Image
Recently my old dual core AMD Athlon desktop computer is showing signs of death. Intermittently, it fails to boot up. I suspect that it could either be the graphics card or the motherboard that is causing the boot failure, judging from the beeping sounds coming from the motherboard when it fail to boot. This has render my desktop computer unreliable and it's a sign for me to buy a new computer system. But, do I need a new computer system now? Since I am using my Android smartphone more than my desktop computer, the role of my desktop computer has reduced to just for storage and backups. I have close to 500GB of personal data in my two HDDs(Hard Disk Drive) which are my personal photos (from trips, events, DSLR, etc), mp3 song albums collected since college years (many hours of ripping from friends CDs) and personal documents. This gets me thinking of just go and get those 2TB external HDD but I realized that I still need a computer system to access the external HDD. What I want is

Mounting NFS share directory from D-link DNS 320L on Ubuntu 12.04 LTS

Image
Seems like the steps on how to get the NFS mount point from the D-Link DNS 320L NAS server were not properly documented in their user manual. After setting up and enabled the NFS service on the D-Link DNS 320L NAS server, I went ahead to setup and mount the share directory/folder in Ubuntu 12.04 LTS assuming the mount point in NAS was /Volume_1/... but that is not the correct mount point to start with! Found this answer from D-Link forum post from a member (ba43123) that helped me to correctly mount the NFS share directory/folder on Ubuntu 12.04 LTS: After spending most of the last hour on the phone with D-Link Technical Support, I came away with the recommendation to take my Mac (which has successfully connected to a number of NFS shares in the past) to Apple to determine if the network settings for NFS are correct.  This is mostly due to the fact that the people who are taking the calls have no information about NFS in their scripts and Knowledge Base so they are at a total loss in

Automatically switch off WiFi if there is no connection for a certain period of time.

Image
This Tasker recipe is to automate the switching off of your WiFi setting when there are no WiFi connection for a period of time. Basically there are 2 profile to set. The first profile to provide a variable to flag if the WiFi is connected or not. The 2nd profile is to start the timer when WiFi is disconnected. After a given period of time if the WiFi does not reconnect, WiFi will be switched off. I created this Tasker recipe to save some battery on my Samsung Galaxy Nexus when the WiFi is on but no connection.  Note:  you cannot import this file into Tasker. Use this as a guide to create your own profiles. Check if WiFi is connected Profile: Check if WiFi is connected State: Wifi Connected [ SSID:* MAC:* IP:* ] Enter: Anon <Set the variable to flag for WiFi connection> A1: Variable Set [ Name:%Wificonn To:On Do Maths:Off Append:Off ] Exit: Anon <Set the variable to flag for no WiFi connection> A1: Variable Set [ Name:%Wificonn To:Off Do Maths:Off Append:Off ] WiFi tim

How to setup Tonido Desktop on Ubuntu 12.04LTS

Image
This post is about setting Tonido on Ubuntu 12.04 LTS with service to automatically starts Tonido every time the computer system starts. Recently I was looking for a software solution to turn my old Asus EeePC netbook into a personal home storage server. I found a few good solutions from my research and for my personal use case, Tonido Desktop seems to be a good fit. Tonido Desktop has few advantages over other solutions that I felt it qualifies for my use: It’s the easiest to setup compare to FreeNAS or ownCloud. Free Android app to access my files using my Android smartphone and tablet.  Free sub domain (https://<username>.tonidoid.com) for easy access to my personal home storage  server from anywhere in the world. This eliminates the effort of setting up your own domain name and port forwarding on my router for file access from the Internet. File sync capability (limited to 2GB files for the free Tonido Desktop software). Runs on Ubuntu 12.04 LTS. Tonido provides deb package